Countless homeowners are switching to artificial grass, and it's no wonder why. Synthetic turf provides a soft and inviting ground covering that allows you to enjoy your outdoor space and labor less over its upkeep.
The key to natural-looking, durable artificial turf is properly anchoring the material. Anchoring your artificial grass can be done by a professional or by anchoring it yourself with a few standard garden tools. How you secure artificial grass depends on the surface, whether soil, wood, concrete, or a putting green.

1. Anchoring Artificial Grass to Soil
A common area to install artificial grass is where natural grass once stood. But to maintain a worry-free artificial lawn, proper anchoring is essential. To start, assemble all the tools that you will need.
Tools Needed:
- Tape measure
- Pickax
- Shovel
- Rake
- Push Broom
- Turf Paint
- Hammer
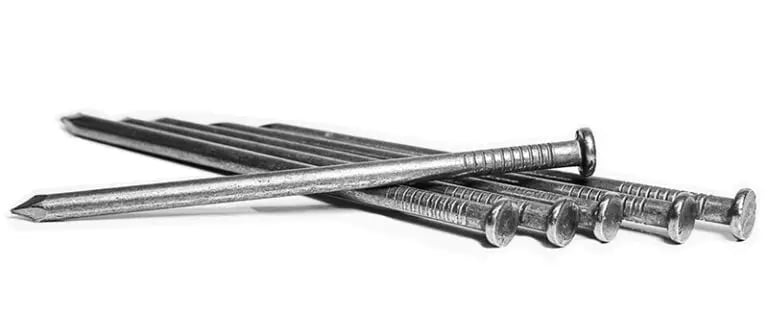
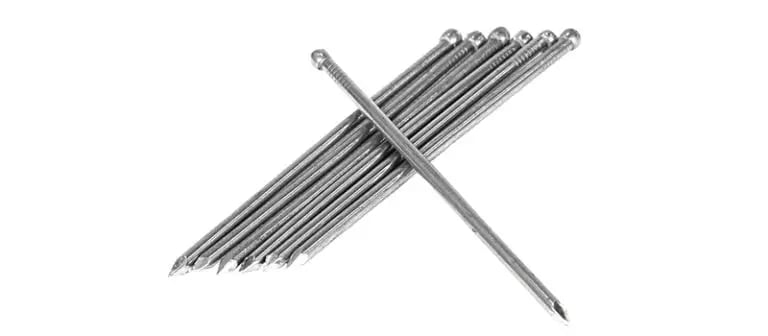
- 40-D, 5 Inch Turf Nails
- Box Cutter
- Putty Knife
- Turf Glue
- Seam Tape
- Drop Spreader
- Vibrating Plate Compactor
You may have some of these tools in your garage already. You can find those you don't have at your local home improvement store.
Materials Needed:
- Synthetic Grass
- Class II Road Base
- Weed Barrier (not recommended if you have pets)
- Infill
Prepare the Surface:
Properly preparing the soil is critical in installing and anchoring the turf. Begin by removing your existing lawn and vegetation. Remove four inches of soil. Then, level the surface and remove any debris, such as rocks or sticks. Light watering will settle any dust and give the area a nice finish. If you have sprinklers installed, cap off the heads and remove them.
Once your surface is smooth and clean, add your class II road base. We usually recommend about three inches of depth to ensure proper drainage. Wet it down and compact it with the vibrating plate compactor. If your lawn has been subject to pests or weeds, try adding some weed barrier to discourage them from coming up through your new artificial turf.
Lay the Turf
Once your base is completed, it is time to lay your turf. A couple of things to remember when cutting the turf: Don't drag turf across your nicely leveled and compacted base. It would be a shame to mess that up and have to do it again. Also, ensure your turf's blades are all facing the same direction. A carpet kicker can be used to stretch the turf before laying it. Cut your artificial grass with a box cutter from the turf's backing. Secure the seams with seam tape, nails, and turf glue.
Securing the Turf
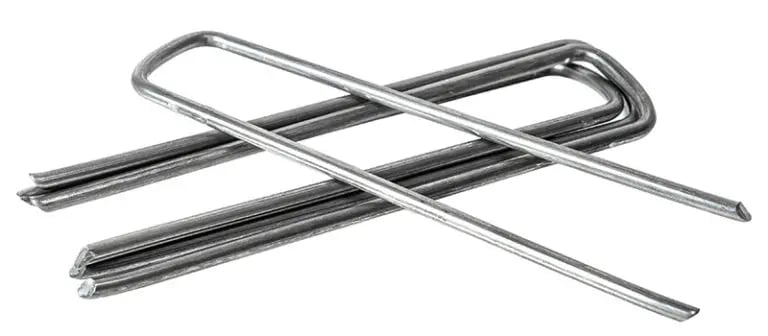
Using a putty knife and a hammer, tuck the border of your turf in and hammer 40-D 5-inch galvanized turf nails every six inches. Any tears or holes in the turf can also be repaired by securing the artificial grass with a few nails. A less-obtrusive way to secure your turf is to use turf U-staples, specifically designed for holding turf in place. Placing a few staples along seams helps to reinforce and strengthen them. Use a push broom to go over the turf to make the blades stand up, and use green turf paint to cover any exposed lines or marks.
Add the Infill
Infill is very important to the installation and anchoring of artificial grass. It not only functions to weigh down the turf but also assists the blades in standing upright. It impacts your new lawn's appearance and lifespan, holding it in place while keeping it beautiful. Use a drop spreader to disperse the proper amount evenly.
2. Anchoring Synthetic Grass to Wood
Some people apply turf to wood surfaces such as floors and decks. The installation is different since there is no soil to prepare. Anchoring your artificial grass to wood can be done. As an added advantage, anchoring turf to wood is more straightforward than anchoring it to soil.
Tools Needed:
- Utility Knife
- Turf Adhesive
- Deck Cleaner
- Garden Hose
- Scrub Brush
- Measuring Tape
- Trowel
- Seam Tape
- Weighted Lawn Roller
- Chalk
Materials Needed:
- Artificial Grass
- Foam Underlay
- Infill
Preparing the Surface
The most important part of anchoring your artificial grass to a wooden surface is cleaning it. Use a deck cleaner and scrub brush to clean it of grease, dirt, mildew, or pollen thoroughly. Ensure the solution is rinsed well after scrubbing, and let it thoroughly dry before you start installing. We recommend at least 48 hours before you begin the installation.
Once your surface is clean and thoroughly dry, measure out how much of the artificial grass roll is required to fully cover the wood. Roll your top turf pieces into the desired position, ensuring the grass fibers face the same direction. Mark the base where two strips join so you know where to apply glue. Then, cut the perimeter of your grass to fit your space.
Attach the turf
Peel back the first piece of turf and apply glue to the perimeter of each piece of turf.
Ensure the joins are hidden by cutting S-seams rather than straight lines. Then, apply seam tape and turf glue to joins the same way you would when installing artificial turf on soil. The only difference is that you won’t use nails on wood.
Once you have glued the turf to the wood surface, use a weighted lawn roller to be sure that it is stuck down in all places. Refrain from walking on the surface for at least a day to allow the glue to dry and set. Then, add infill and brush.
3. Anchoring Artificial Turf to Concrete
You may want to attach artificial grass to concrete for many reasons, with beauty being one of the first items on the list. If your concrete has become worn, chipped, or cracked, installing artificial turf is an inexpensive way to update your space. It also offers a safe alternative to concrete because of its anti-slip surface. Tools and materials to have on hand are as follows.
Tools Needed:
- Tape Measure
- Turf Glue
- Seam Tape
- Utility Knife or Turf Cutter
- Garden Hose
- Putty Knife
- Plastic Rake or Power Broom
- Power Drill
- 16 mm Drill Bit
Materials Needed:
- Artificial Turf
- Foam Underlay
- Turf Infill
- 10 mm Shingle
- Self-levelling Compound (for minor cracks in concrete)
Preparing the Surface
Like installing over wood, the first step is cleaning the concrete thoroughly. You can choose a cleaner that is designed specifically for cleaning concrete. Use a power broom or push broom to scrub stains, mold, or other debris from the surface.
Pay attention to drainage. If you see puddling on the concrete, you may need to drill drainage holes to avoid pooling. Fill the gaps with 10 mm shingle.
Use a self-leveling compound to repair small cracks if there are uneven surfaces.
Let the concrete dry completely before installing the foam underlay. Lay out the foam underlay and cut it to fit. The foam comes in rolls and sometimes tends to roll up so weigh it down to keep it in place. Use some masking tape to hold the pieces in order until glued down. Follow the manufacturer's instructions for using the glue, ensuring all areas are covered thoroughly.
Anchor the Artificial Grass
You can next cut the turf to size, always cutting from the underside of the artificial grass. Use seam tape and turf glue at joins just like you would if the surface were wooden. Glue the perimeter of each grass piece in place.
Once the glue has completely cured, apply infill on top of the grass. Apply per package directions to weigh down the grass.
4. Anchoring Artificial Grass to a Putting Green
When anchoring artificial grass to create a putting green, the preparation and installation process is strikingly similar to applying synthetic turf over a soil base. Both tasks require careful groundwork, precise measurements, and the right tools to ensure a seamless and lasting result. However, there is a subtle yet significant distinction to consider when working with a putting green surface.
The grass blades on a putting green are designed to be shorter, providing a smooth and level surface that allows golf balls to roll effortlessly. To accommodate this, using shorter nails (sometimes called “putting green nails”) and U-staples during installation is crucial. By doing so, you can secure the artificial grass firmly without compromising its intended function, ultimately creating a professional and enjoyable putting green experience.
Secure Your Artificial Lawn Right the First Time
When properly installed and anchored, artificial turf can offer an enduring and aesthetically pleasing alternative to natural grass, wood, and concrete.
Both new and used synthetic grass options can deliver exceptional performance and longevity, provided they are meticulously installed and secured. However, to truly experience the full range of artificial turf's benefits, it is essential to use the appropriate materials and tools during the installation process.
One crucial aspect of the installation process is to have the correct tools on hand to secure the turf. Adhesives and seam tape join separate pieces of turf, creating a uniform and seamless appearance. Nails and U-staples, on the other hand, are instrumental in anchoring the turf firmly to base layers, preventing any movement or wrinkling over time.
Following the above steps and using the appropriate installation tools ensures that your artificial turf remains vibrant, beautiful, and functional for many years.
Covering surfaces with artificial turf does not have to be a budget-buster. Used artificial grass costs 50%-75% less than new artificial turf. If you install it yourself, the savings are even higher.
Investing time and effort in the proper installation and anchoring process will ultimately result in a low-maintenance lawn that consistently impresses and offers a welcoming outdoor space for relaxation and recreation.